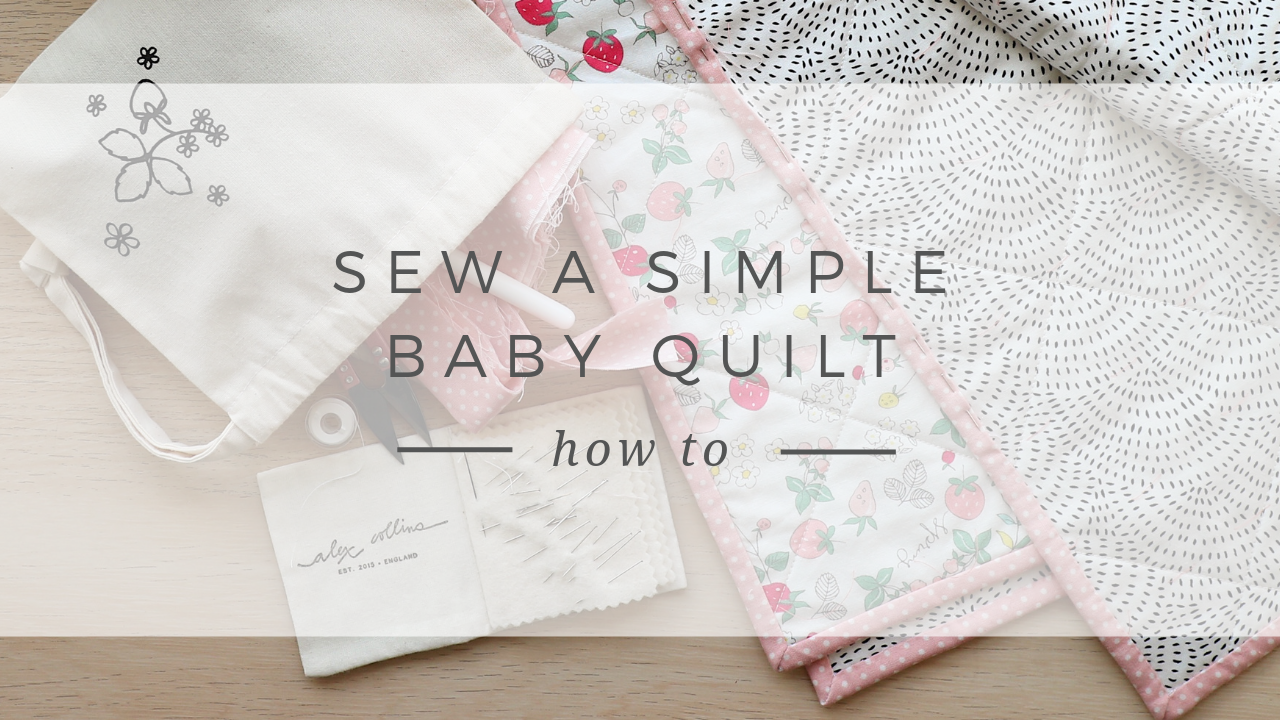
A Simple Baby Quilt How-To
In Episode 13, over on my knitting and sewing Youtube channel, I showed a simple, modern, baby quilt I had been making as a gift for a friends new baby.
As so many of you were interested in the quilt I thought I’d share a baby quilt how-to and walk you through the steps I followed to make mine.

Quilt making supplies
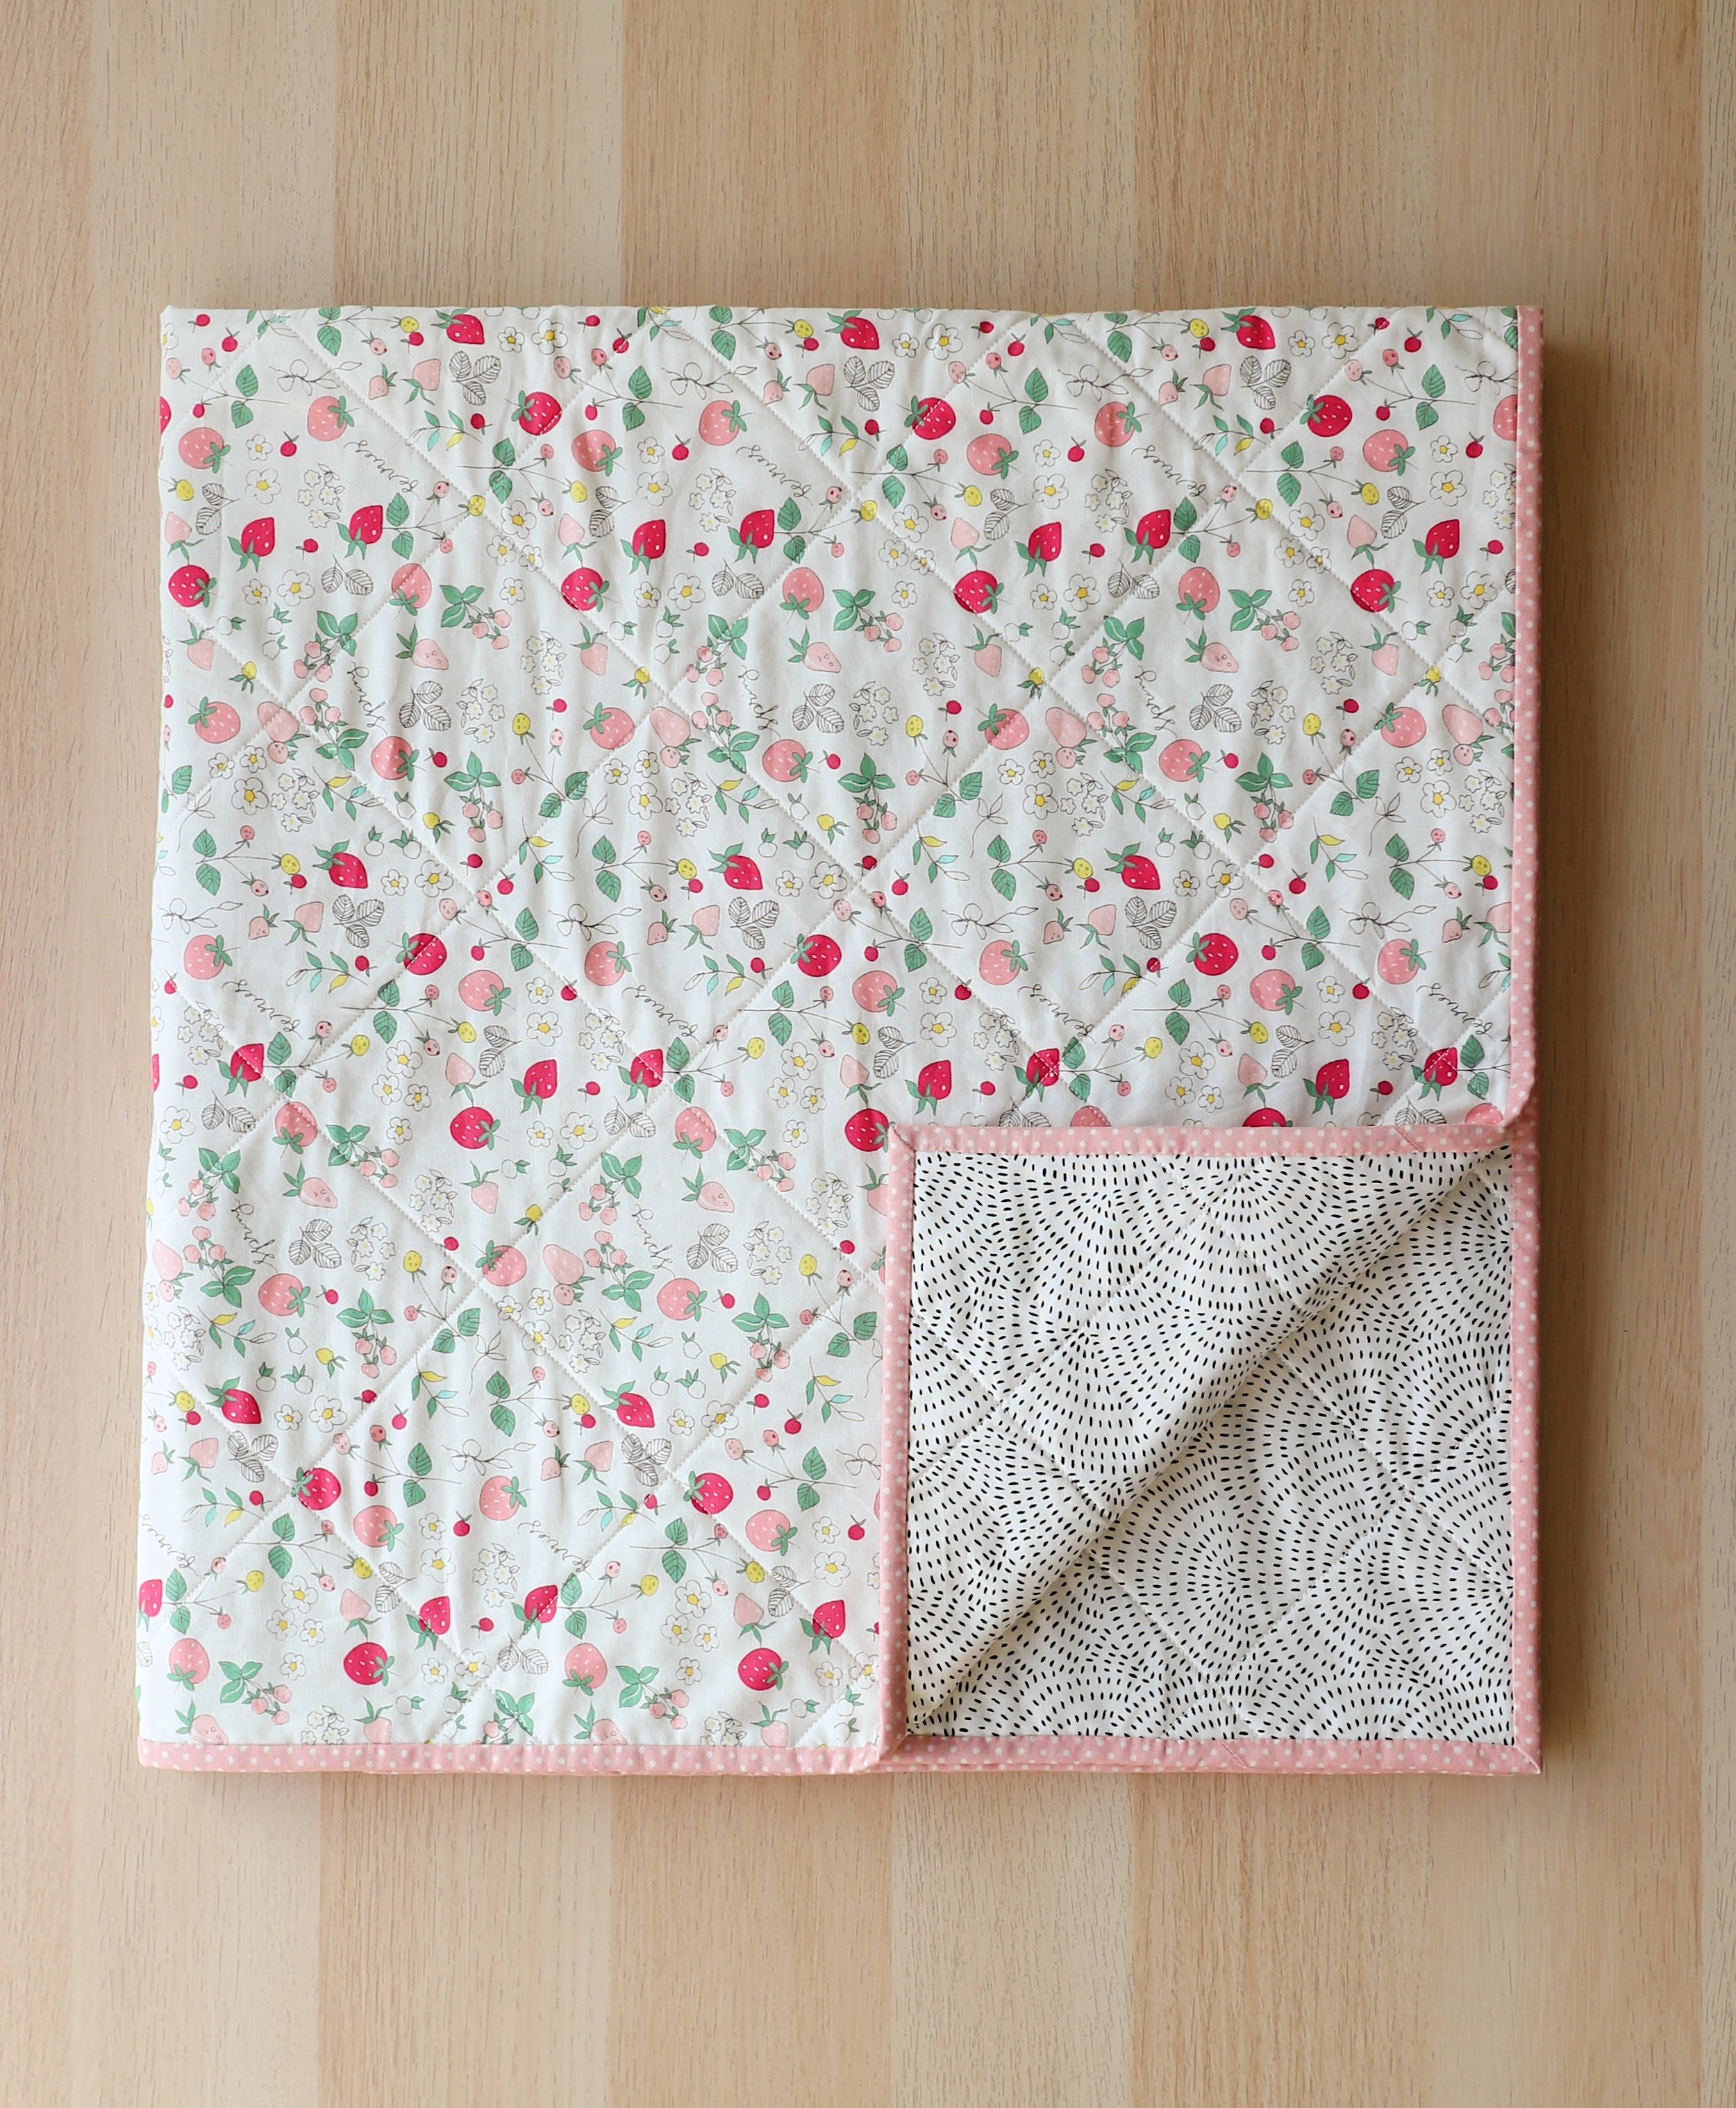
Main Fabric 1.5 meters (59”) - Serendipity by Minky Kim for Riley Blake Fabrics
Backing Fabric 1.5 meters (59”) - Catnip by Gingiber for Moda
Binding Fabric 0.5 meters (19.5”) cut into 2.5” strips - Basic Spot New Cheeky Pink by Henley Studios for Makower
Batting - Quilters Dream Cotton Crib 152cm x 117cm (60” x 40”)
Cotton thread for quilting
Contrast thread for basting
Walking foot
Pins
Hand sewing needle
Rotary Cutter
Pencil

Skills you will use for quilting
Sew in a straight line
Bind your quilt using the mitred corner method
Whip stitch
Steps for making a simple quilt
Pre wash and iron all your fabrics.
Lay your backing fabric wrong side up making sure to smooth out any wrinkles
Place your batting on top of your backing fabric
Lay your main fabric right side up on top of your batting making sure to smooth out any wrinkles
Starting from the centre of your quilt, hand sew through all three layers using your contrasting thread. These stitches will hold the quilt together as you machine quilt the fabric. They’ll be taken out at the end so use long stitches and don’t worry about making them neat.
Using a quilting ruler and something to mark your fabric that will wash out, draw a line along the selvedge. Using this first straight edge as a guide, use your quilting ruler to draw a straight line at the top and bottom of the quilt and then finally the opposide side of the quilt. This rectangle marks the edge of your quilt and will neaten the edges when you cut along these lines after quilting.
Starting in the bottom right corner and using your quilting ruler, mark an 8” line at a 45° angle between the two perpendicular lines.
Using this line as a guide continue to mark out your quilting lines 4” apart until you reach the top left corner of your quilt.
Now starting from the bottom left, mark your quilting lines every 4” until you reach the top right corner of your quilt. You should now have 4” squares neatly marked our all over your quilt.
Attach your walking foot and set the stitch length at 2.5-3.
Machine quilt over your markings starting with one of the lines that run through the centre of the quilt and work your way out.
Cut along the outside edges of your quilt that we marked in step 6.
Join your 2.5” binding strips by putting them right sides together at a 90° angle. (It will look like an L shape) Sew together with a diagonal line using the 45°angle guide on your quilting ruler if you want to mark your stitch line. When you press your seam open you should have a straight length of binding.
Continue joining your binding strips until you have enough to go all the way around your quilt plus 10” of extra length.
Press the length of your binding in half with wrong sides together.
Line up the raw edge of your binding with the raw edge of your quilt top and start sewing with a ¼” seam about 6” from the end of your binding. Don’t start too close to the corners.
When you get to the first corner stop sewing ¼” from the edge and back stitch.
To create a mitred corner flip the binding straight up at a 90° angle and use your finger to press the diagonal crease line you should see at a 45° angle. Carefully fold the strip back down so the raw edge is lined up with the next side of your quilt. About ¼” from the edge you should feel the diagonal line under the binding strip you just lined up with the raw edge. You want your needle to be as close to this fold without sewing into it. Sew with a ¼” seam allowance and repeat for each corner.
When you are about 10” from where you started sewing your binding you want to join your strips while you still have some slack. Use your finger to press in a crease where the strips will meet if you were to sew them down. Carefully line these crease lines, up right sides together, and stitch on the crease. Your binding should lay flat against the quilt now and you can trim the excess so there is just a ¼” seam.
Sew the binding to the quilt with a ¼” seam allowance.
Press the binding up and away from the quilt, then fold the binding to the back side of the quilt and pin in place.
Use an invisible whip stitch to sew the binding in place on the back side of the quilt being careful not to let your stitches show on the front of the quilt - just catch the backing fabric and binding in your stitches.
When you reach a corner fold it neatly and carry your invisible stitch up the corner and down the other side on the front of the quilt so you don’t have a little pocket on either side of the quilt.
Admire your beautiful quilt...you’ve finished!
Don’t forget to tag @alexcollinsdesigns when you share your quilt project on Instagram. I love to see your fabric choices, progress and finished quilt!

Notions Pouch & Needle Book Set
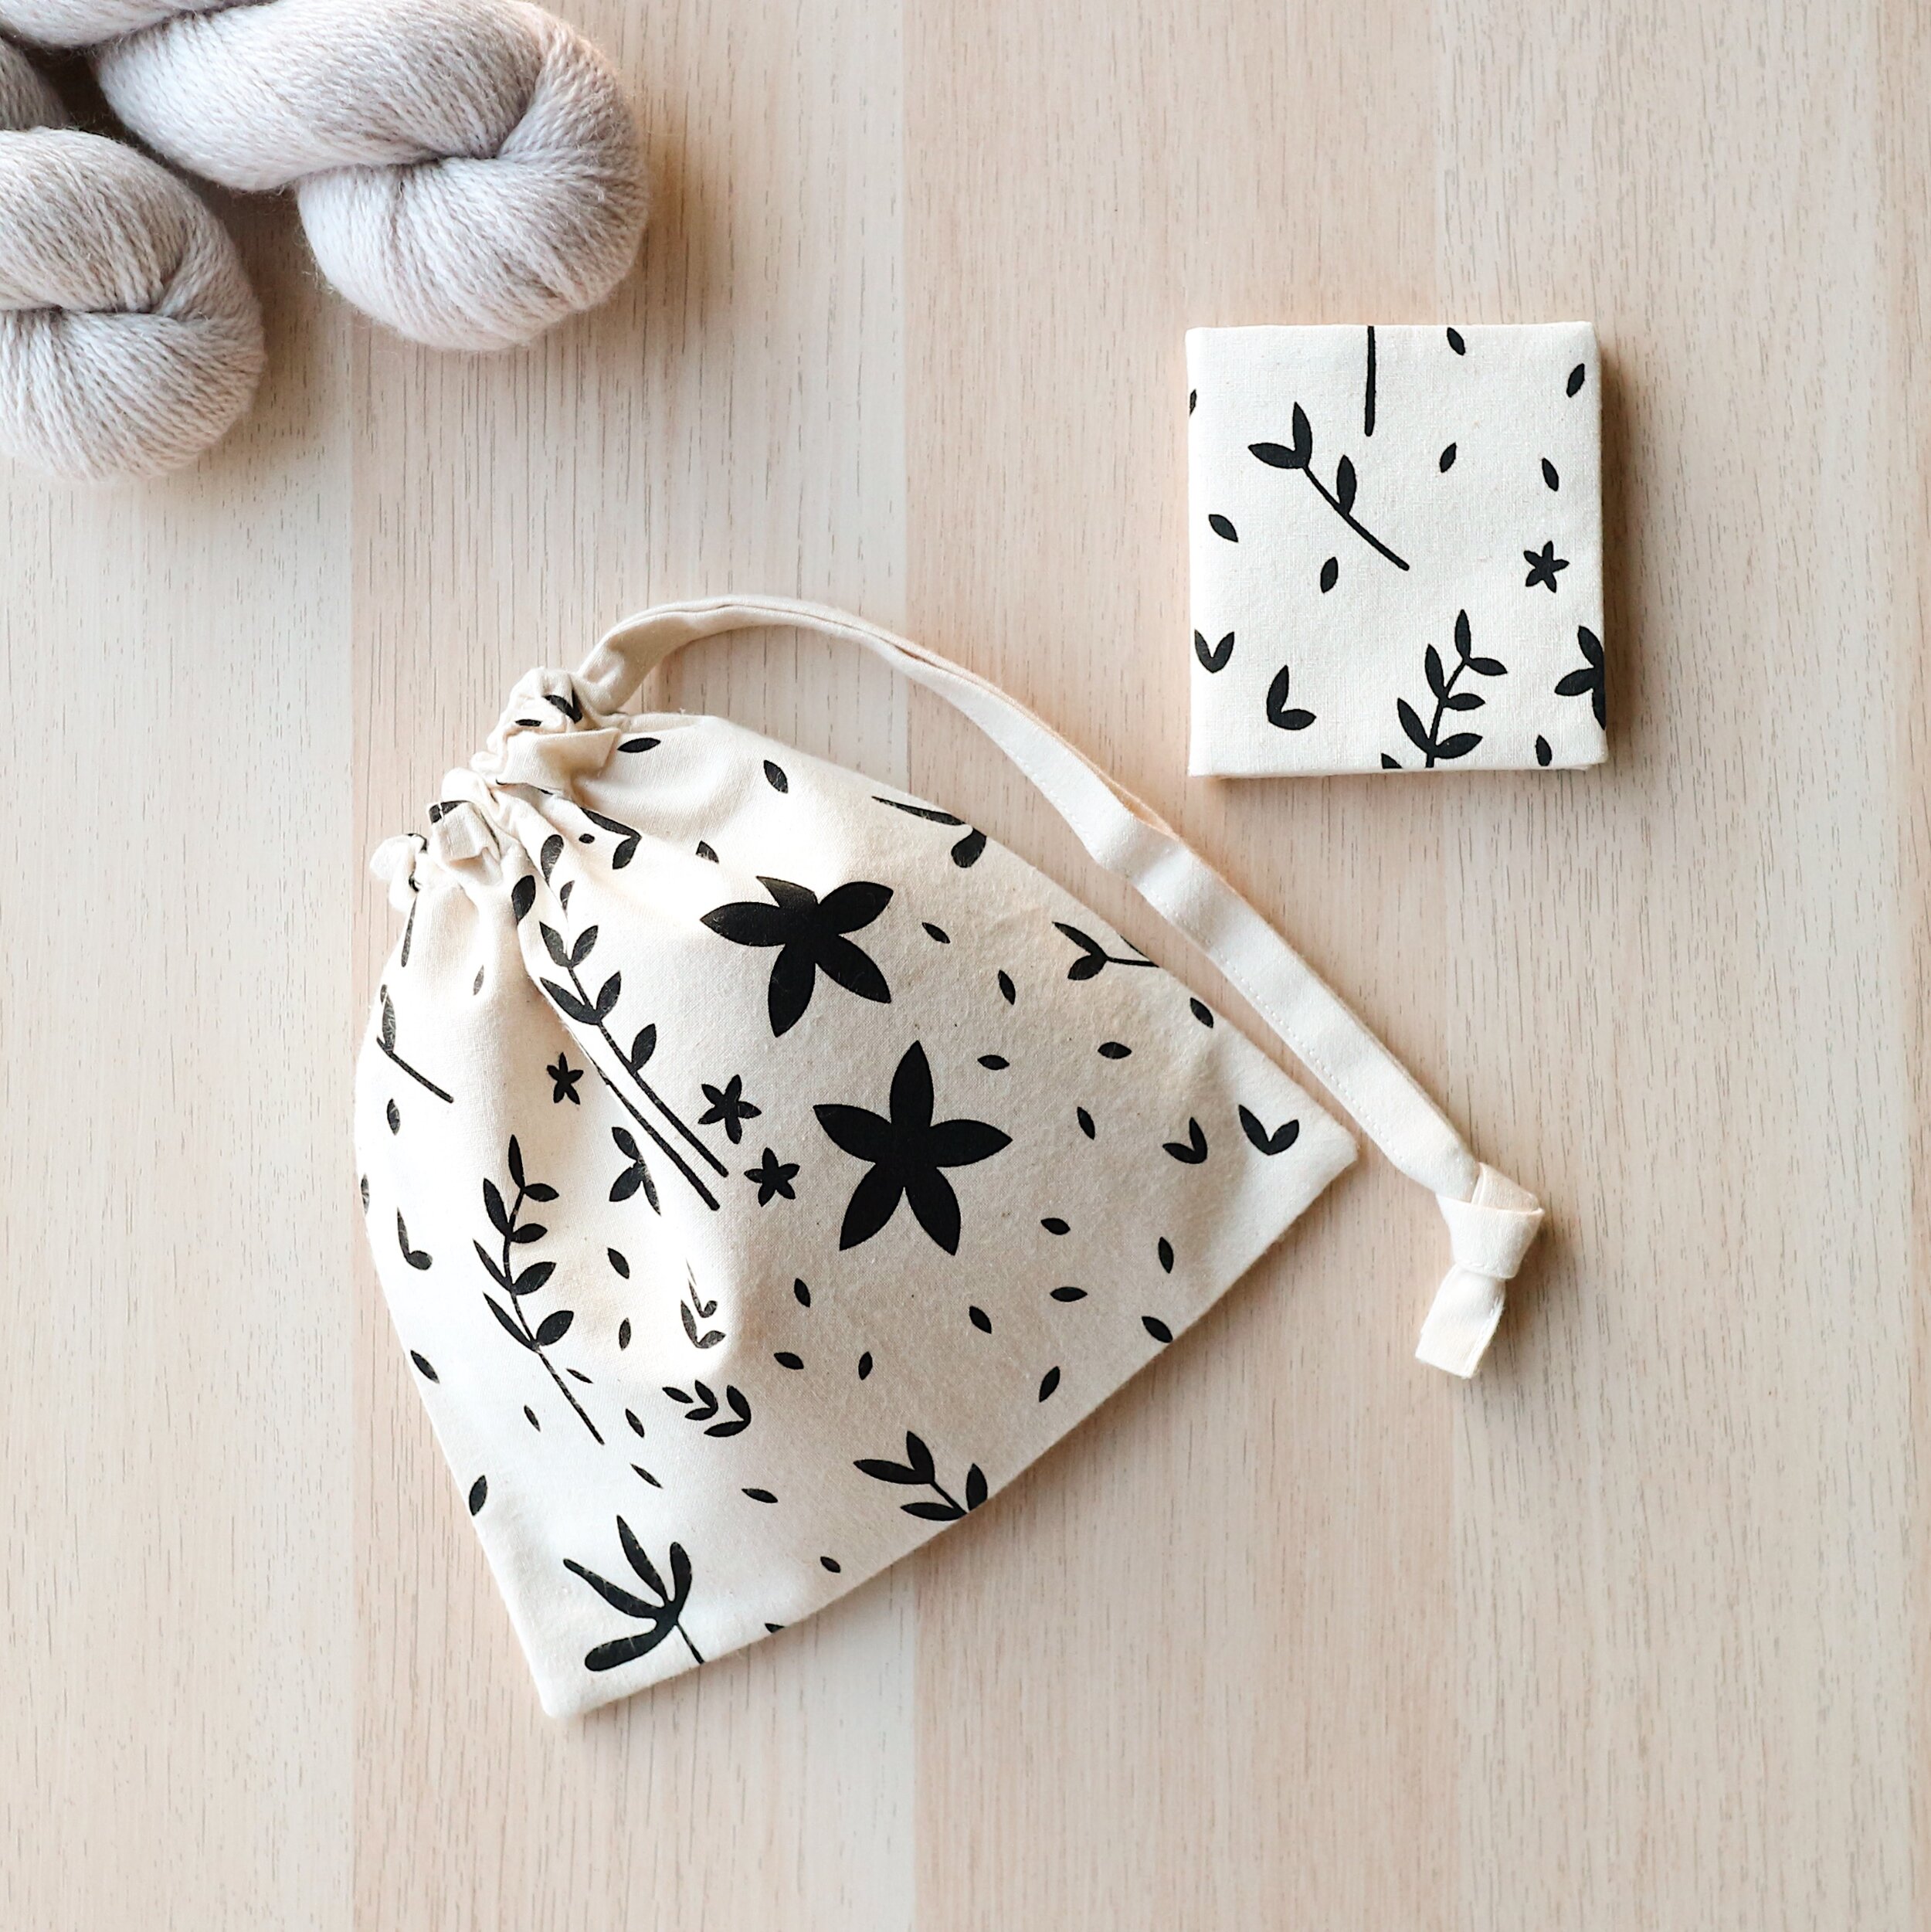
Sold as a set, you get 1 Notions Sack and 1 Needle Book - This bundle saves you 10% off the equivalent items bought at full price, hurrah!
Use this little drawstring bag and needle book to safely store your pins and needles and keep your sewing notions organised.
100% GOTs Certified Organic Cotton
100% Bioland Certified Organic Pure Wool Felt
Each piece has been screen printed using non-toxic solvent-free black ink and hand stamped with my logo.
They are lovingly made in the UK and shipped worldwide.

Sold as a set, you get 1 Notions Sack and 1 Needle Book - This little bundle saves you 10% off the equivalent items bought at full price, hurrah!
Use this little drawstring bag and needle book to safely store your pins and needles and keep your sewing notions organised.
100% GOTs Certified Organic Cotton Bag
Screen printed from my original drawing
Approx. Dimensions:
width 7 1/2" (19cm) x height 7 1/2" (19cm)
Drawstring is aprox 9" (23cm) long when the bag is closed
These bags have been screen printed using non-toxic solvent-free black ink on one side and my logo is hand stamped on the back. Each bag is fully lined.
100% GOTs Certified Organic Cotton Needle Book
100% Bioland Certified Organic Pure Wool Felt
Screen printed from my original drawing.
Approx. Dimensions
width 3 1/8" (8cm) x height 3 3/8" (8.5cm) x 1/2" (1.25cm)
Every needle book has four pages inside made from a beautiful natural coloured wool felt. The books are screen printed with non-toxic solvent-free black ink and are hand stamped with my logo on the inside front cover.
They are lovingly made in the UK and shipped with care to you.
Spot clean only.
Iron on a Medium/High heat setting
Yarn and notions pictured are NOT included
Where do you want to go next?