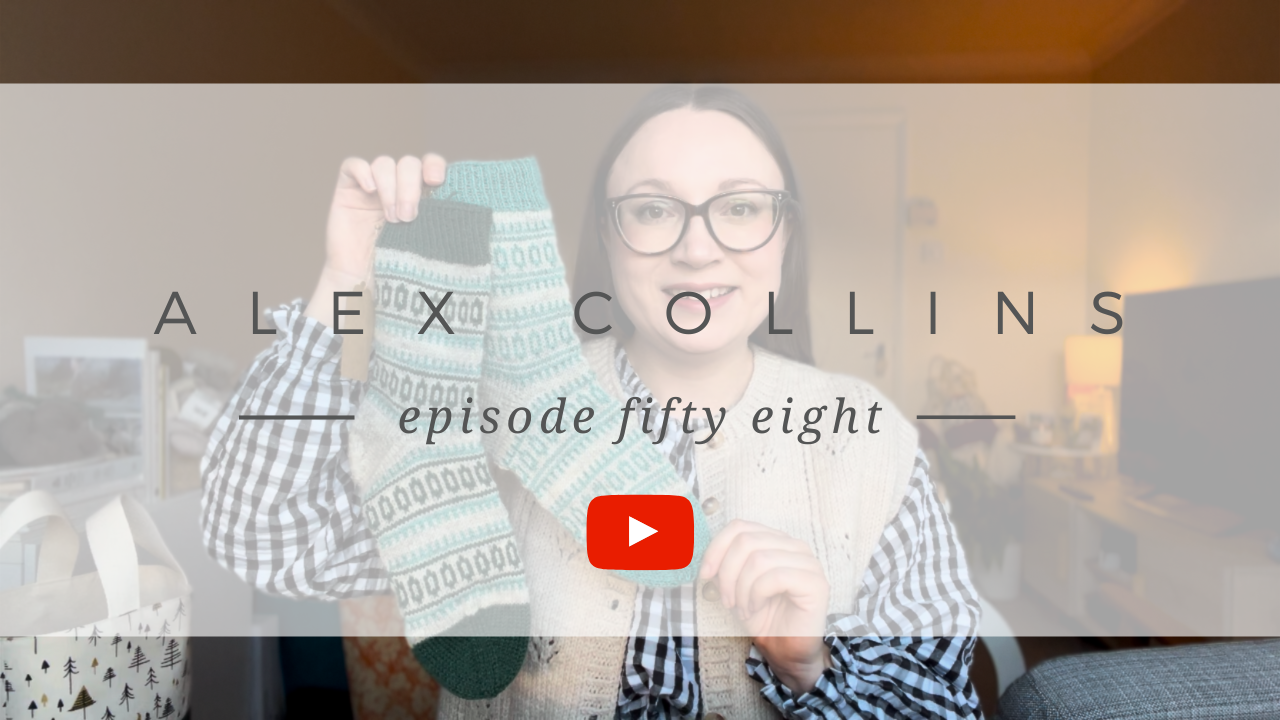
Hello friends, welcome to episode sixty one of my knitting and sewing podcast! If you're interested to learn more about any of the pieces I share in this episode you can find all the details below.
If you'd like to get the show notes straight to your inbox each time I post a new video to my YouTube channel you can join my show notes mailing list.
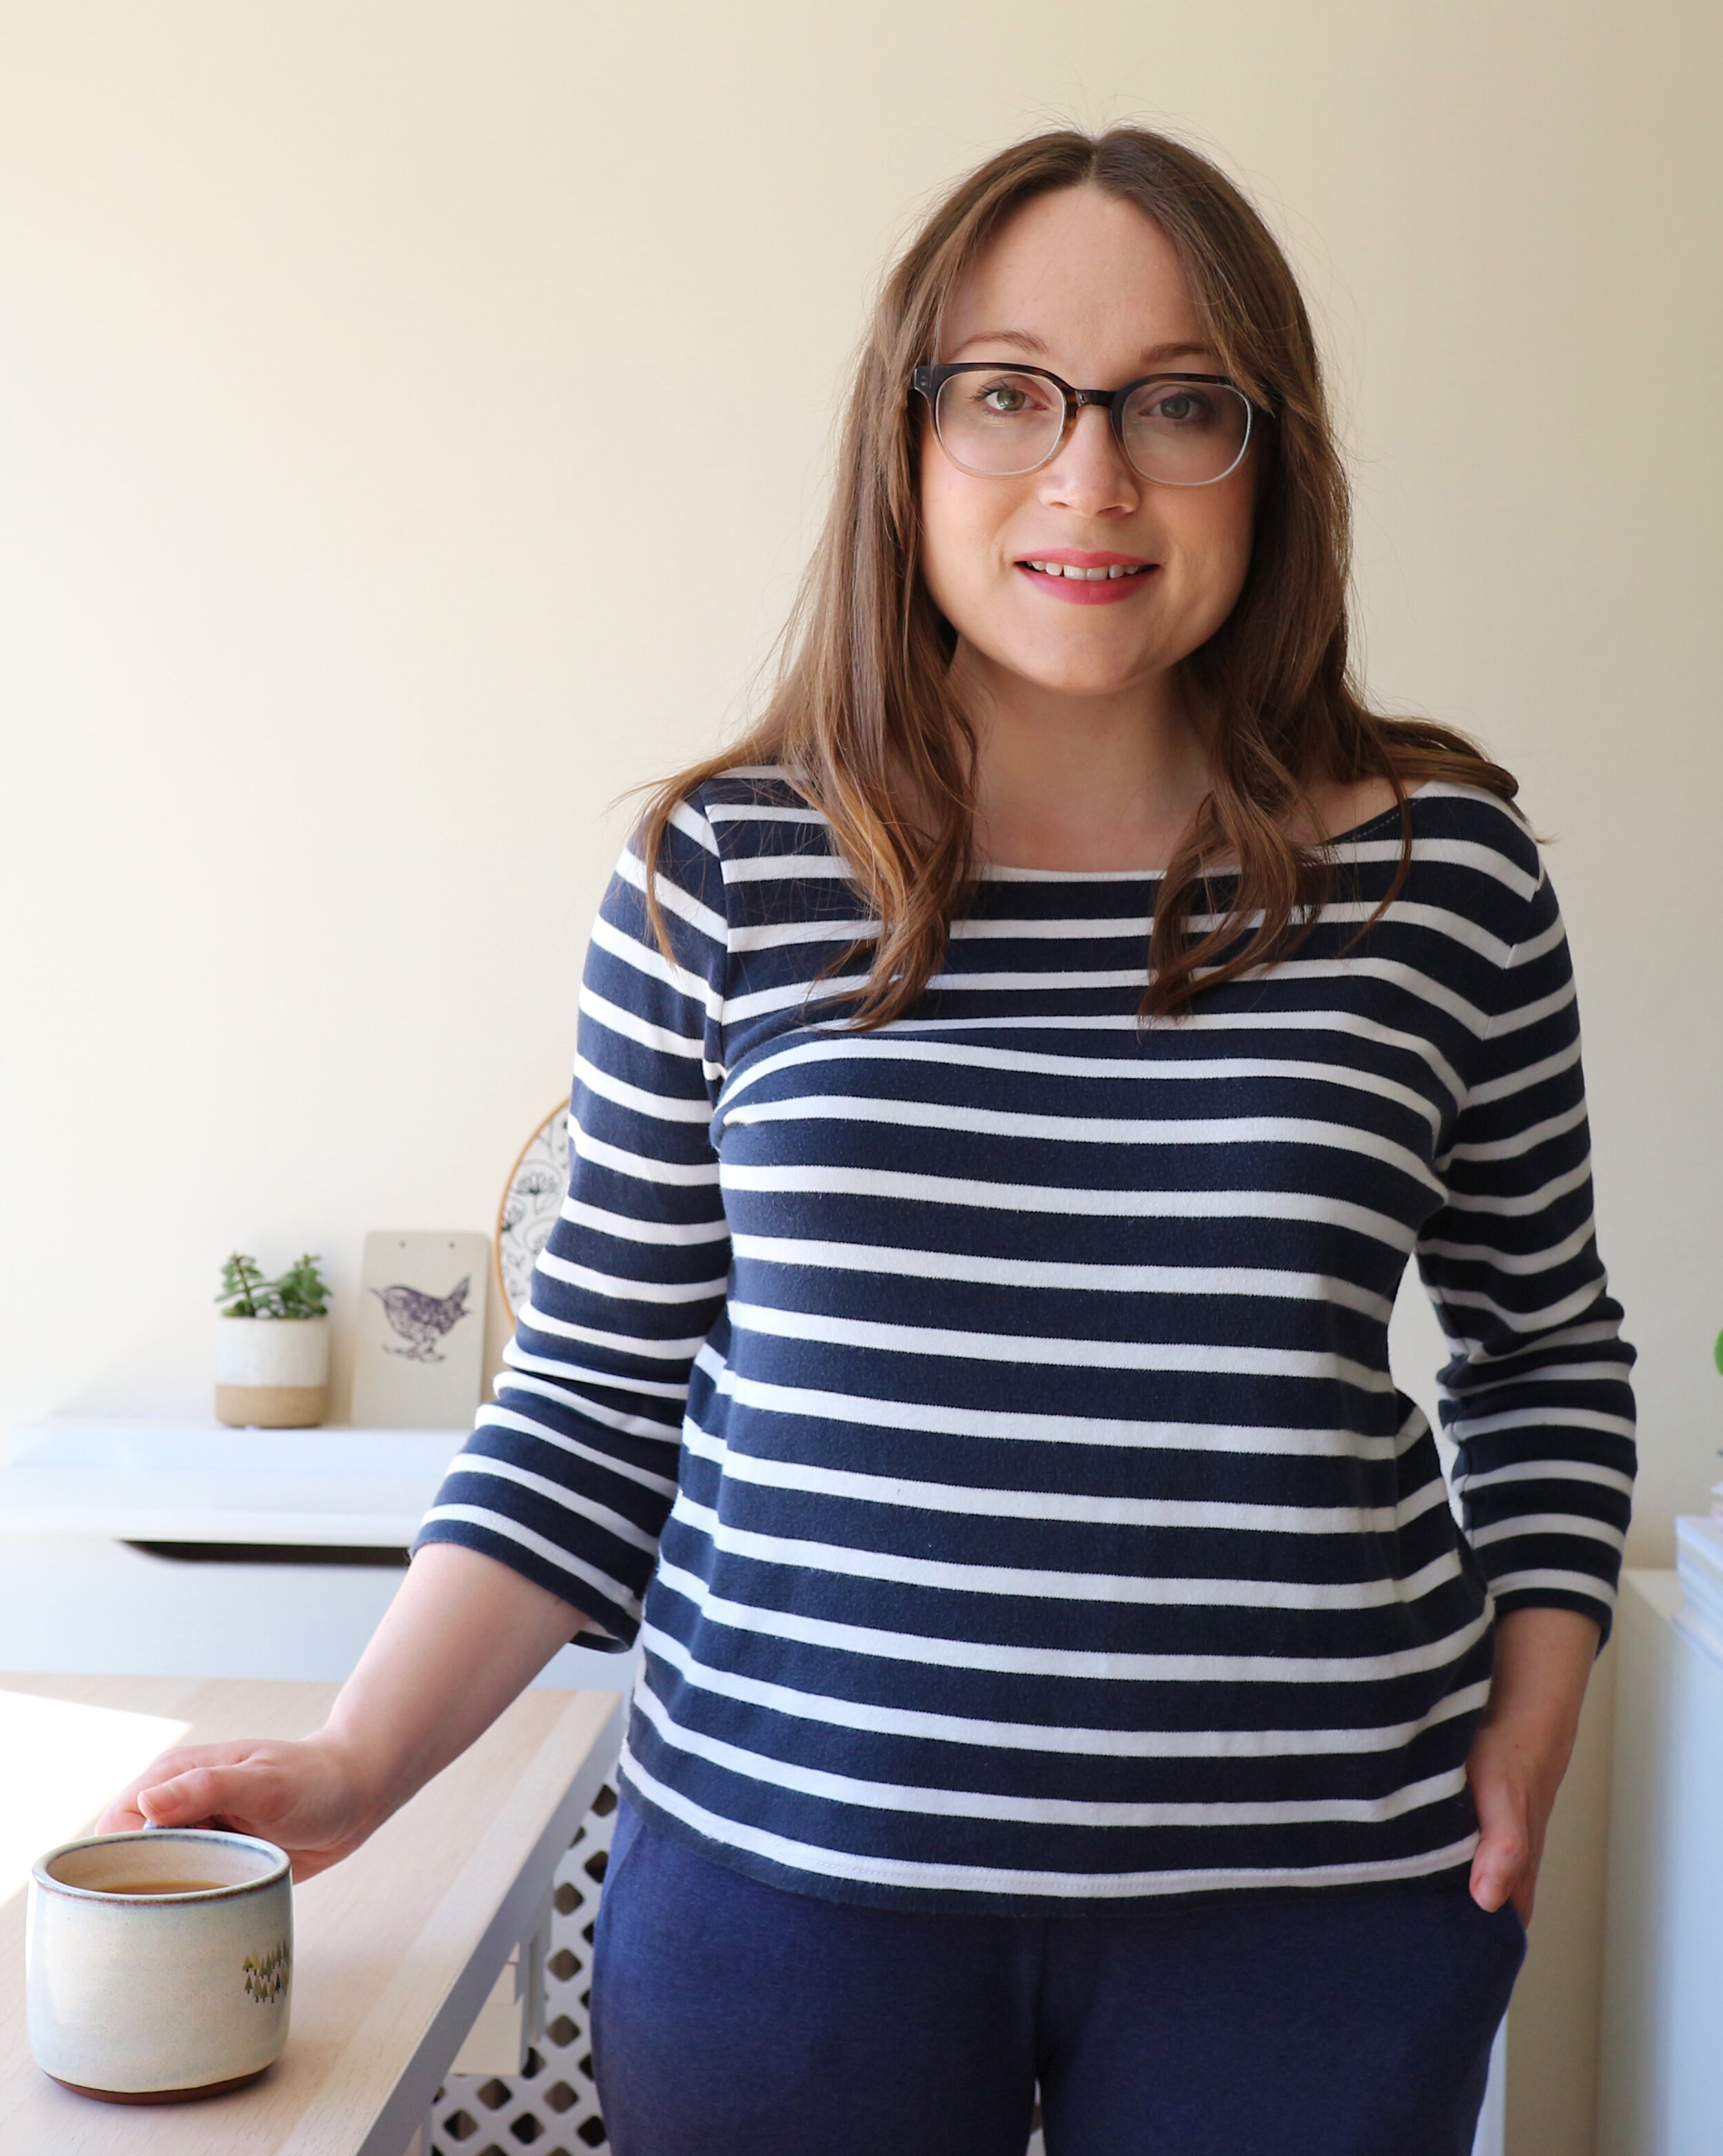
WHAT I'M WEARING
Deep Moss Pot by Kari Helene Rane for The Fibre Co. knit using The Fibre Co. Lore in Heaven
WHAT I'VE BEEN KNITTING
Vanilla Socks knit using West Yorkshire Spinners Signature 4 Ply in Blue Tit and Cascade Heritage Solids in Navy 5623
Apple Blossom Shawl by by Ashley Lee knit using John Arbon Knit by Numbers 4 Ply in KBN0111
Rowan Felted Tweed DK in Ginger 154
Pheasant Pullover by Amy Christoffers knit using Jamiesons and Smith 2ply Jumper Weight
WHAT I'VE BEEN SEWING
Reynolds Dress by Helens Closet and fabric from Misan West, Goldhawk Road, London.
EVENTS
Southern Wool Show, Newbury - Sat 30th & Sun 31st August 2025
Unravel, Farnham - Fri 12th & Sat 13th September 2025
MENTIONS
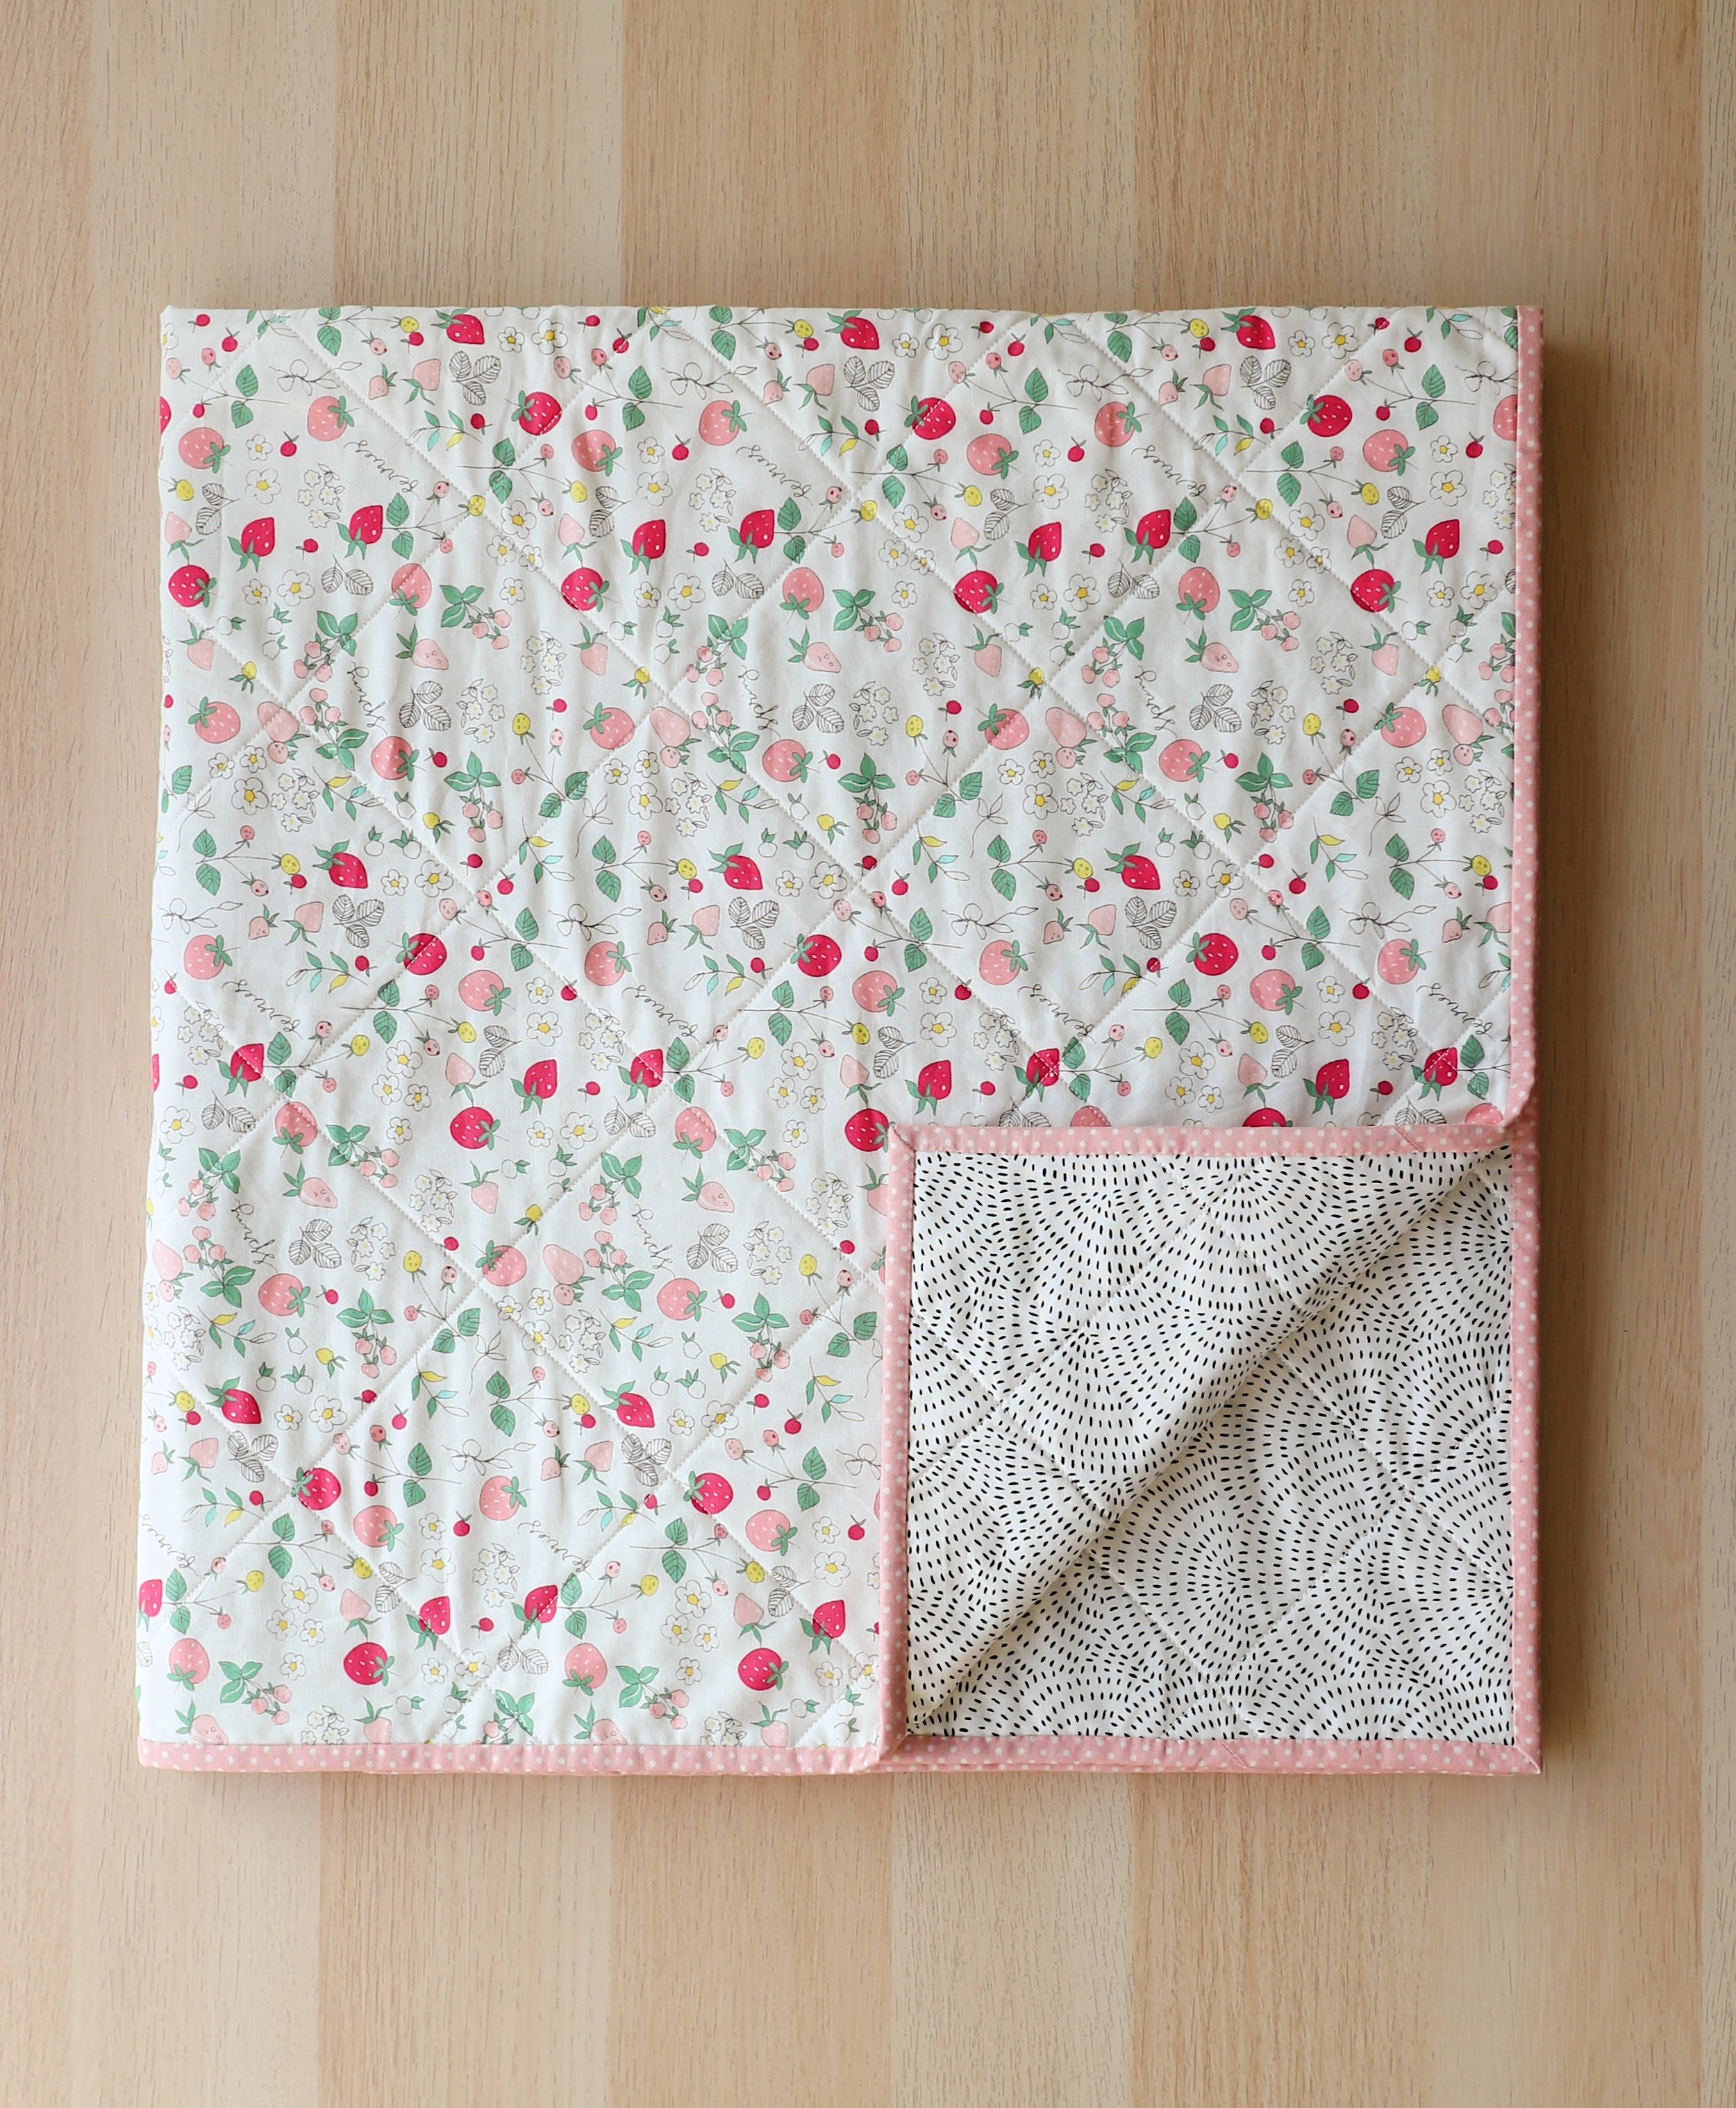
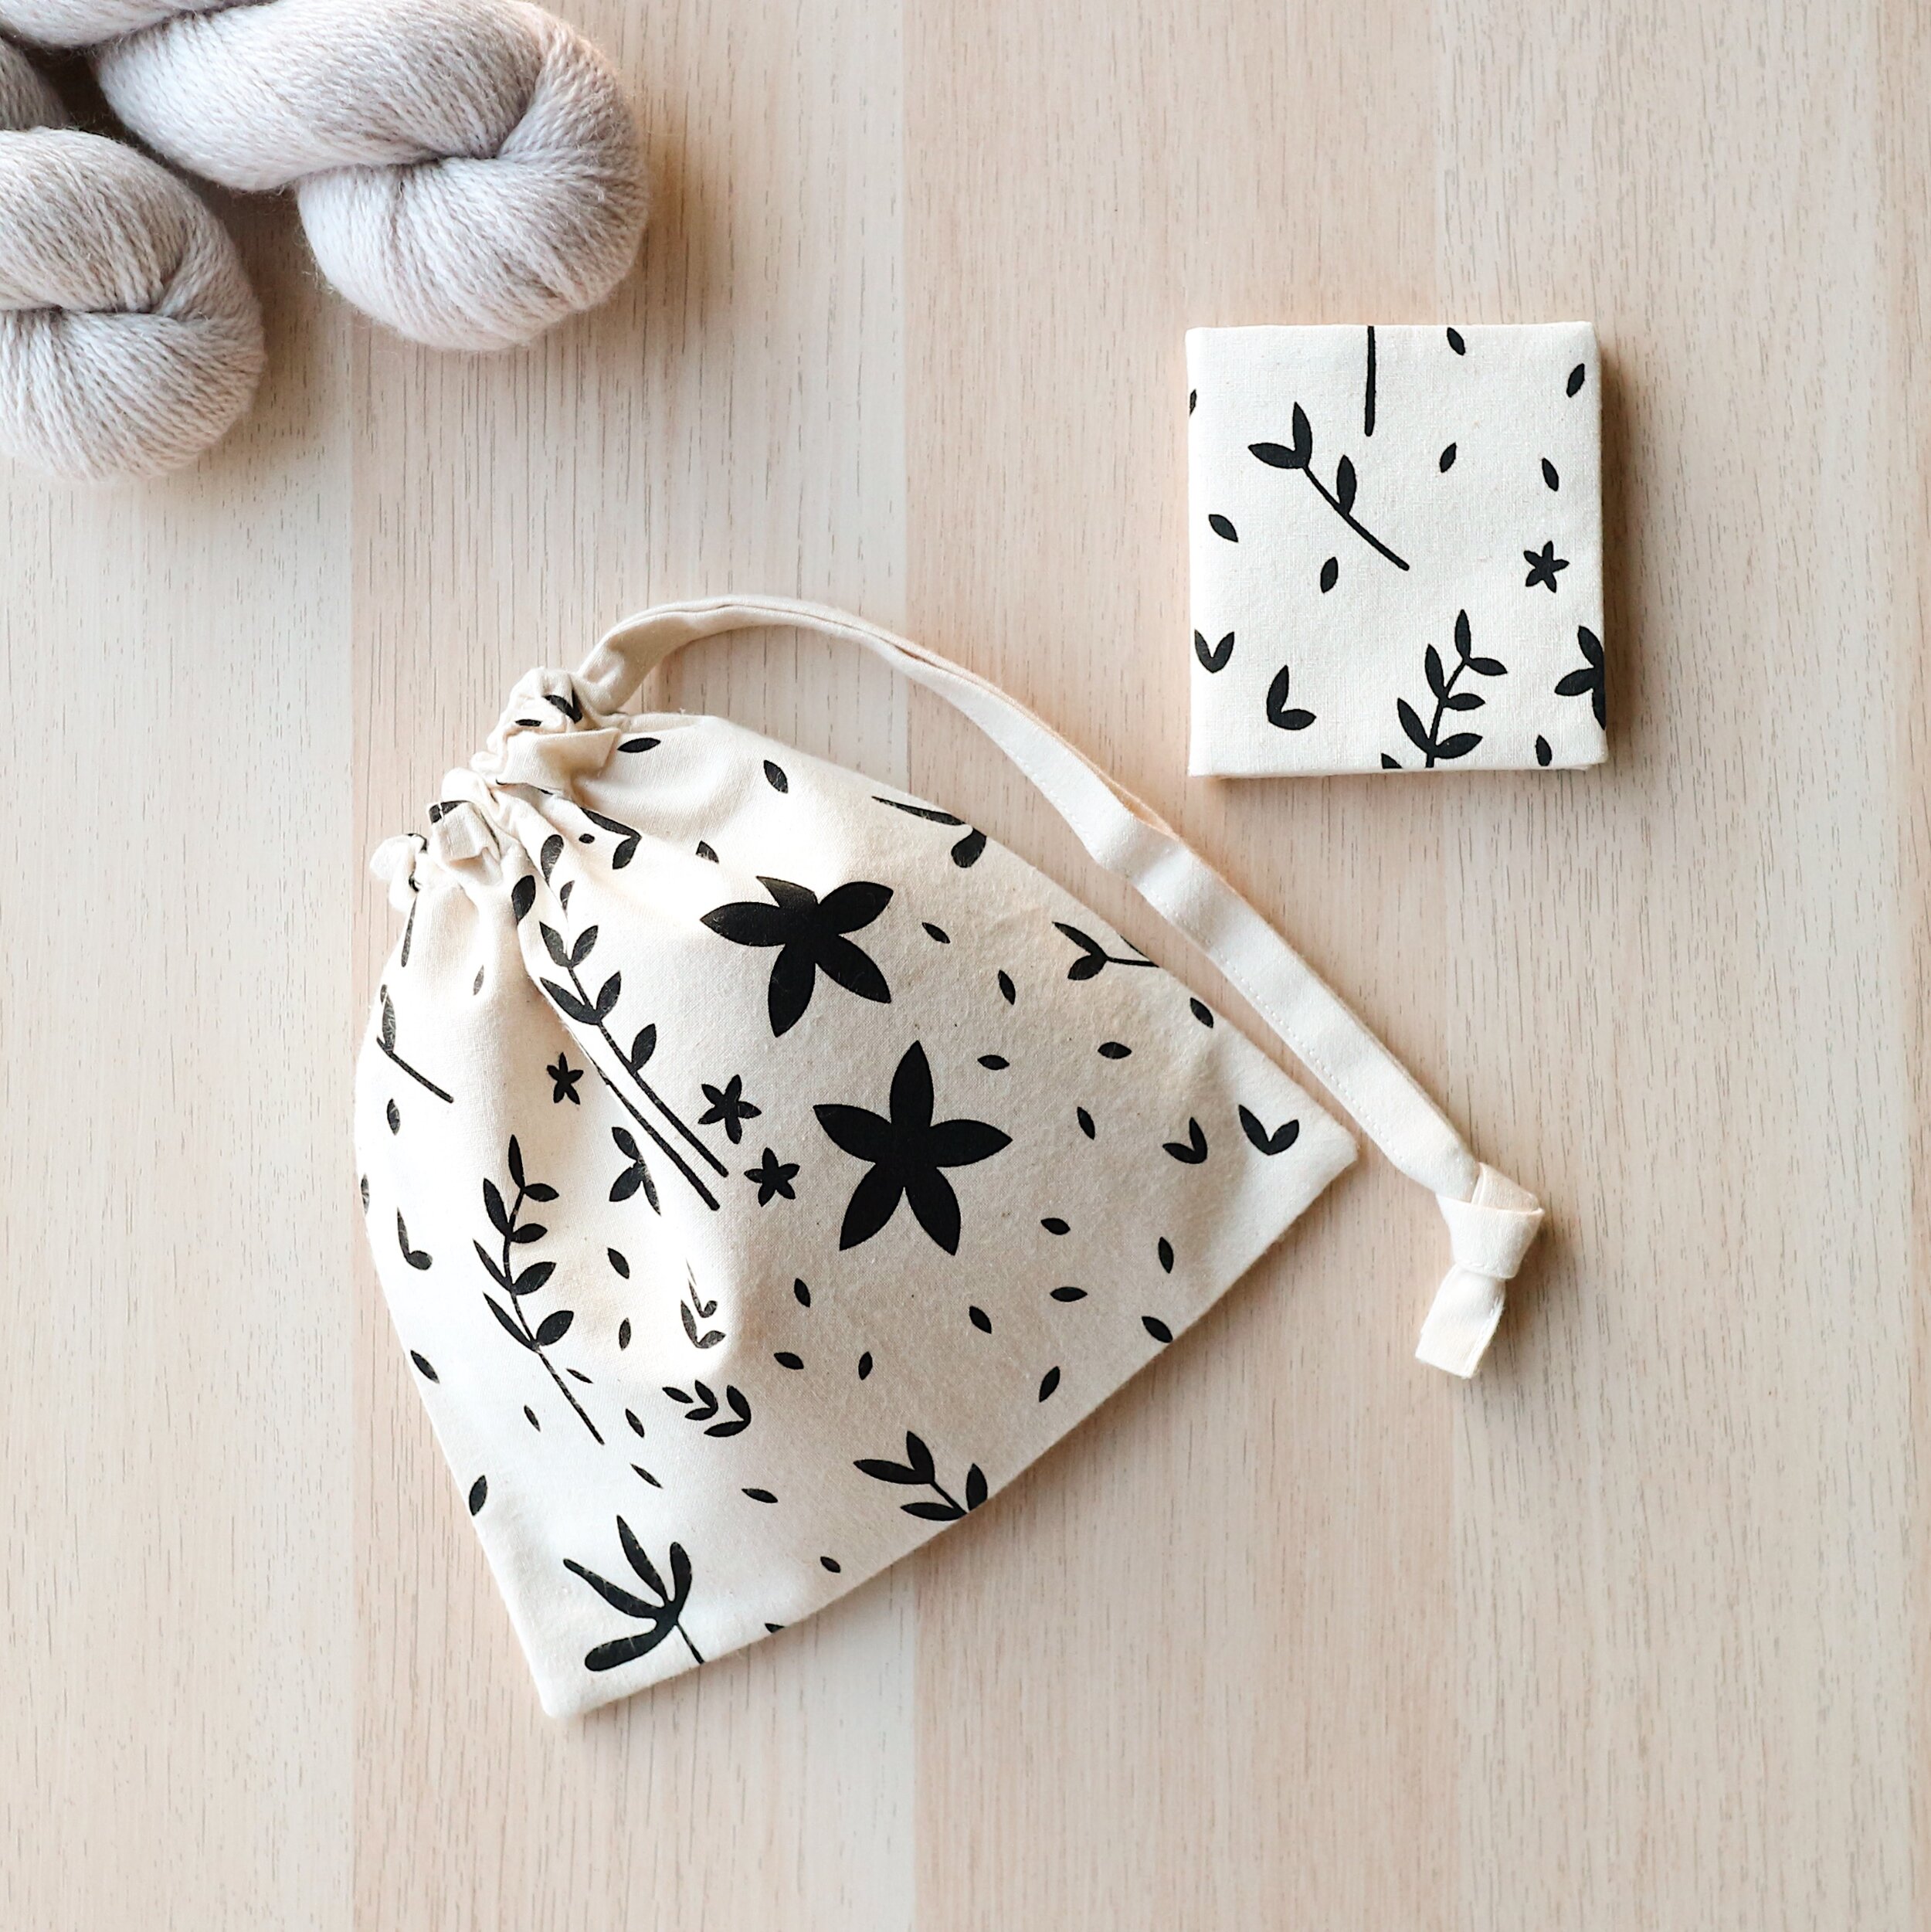
SHOP UPDATE
As you saw me mention in this podcast episode I sell project bags and knitting accessories for makers. See what's available in the shop today or email me to request a custom order.
Thanks again for watching. Until next time, Alex x
Want a better view of the knitting?
When watching a video, click the gear icon bottom right to open ‘Settings’ and click on ‘Quality’ to make sure 1080p HD is selected. This will give you a nice clear picture when watching my channel.